NEWER POSTS ARE IN THE LAST "CHAPTER".

Click on the chapter below that you would like to view.

CLICK ON ANY PICTURE TO ENLARGE.

I have arranged the blog in chronological order of the build. If viewing the whole build in order, scroll to the bottom of each page & push the button that says OLDER POSTS to see the next pages.

The Planking Begins

After all the fairing required to make the entire hull flow nicely, there were a few more things to take care of prior to the beginning of planking. We had to deal with things that would be inaccessible after the planking was applied. Anything that could be anticipated and easily placed prior to planking removes the need to try and shape things to fit against the inside curve of the hull at a later time.


The appropriately sized diesel engine was chosen, and the appropriately sized engine mounts were built.


The mounts consist of two skid type mounts sitting above the bottom of the bilge.


The picture below shows how the centerboard case sits in relation to the bulkhead that forms the back of the galley sink cabinet.


The entire interior of the aft lazarette needed to be fiberglassed and epoxied, and the final sanding done to smooth it out, ready for paint. Once the planking is applied, this area will only have a small access hole, not something a person wants to have to manipulate fiberglass and sanders through.


Finally the planking could begin....Richard ordered some beautiful 1 x 6 clear vertical grain Western Red Cedar from Specialty Forest Products in Spokane, WA. It is light weight and rot resistant, and thus is desirable for use in wooden boats. The cost of this special lumber was offset by the fact that the waste factor disappeared by ordering it clear and not having to cut around knots, etc as would be the case in a lesser grade or knottier wood.

He ripped it to 1 1/16" width and planed to 3/4" thickness (the dimension from inside to outside of hull). The width of the strips was recommended at 3/4"-1 1/2". It is necessary to keep the strips narrow enough to be able to run each layer of planking the entire length of the boat and have it bend as needed to follow the lines of the hull. The joints are staggered with each layer and epoxy applied to the joint ends.


Epoxy was spread on each long strip and then applied to hull, starting at the sheer.


Massive numbers of clamps were used. Thanks to cheap clamps from Harbor Freight!


Richard decided to start at the sheer, and to work from bottom up exclusively. The theory behind this was that he would never have to be applying epoxy to the underside of any surfaces and working upside down. The hope was that the strips would flow nicely all the way up the hull since it was faired in all directions.


Smear, clamp....


Smear, clamp, repeat....

Still not much room to get around the hull, especially with all the clamps in place.


Notice also that the opening into the building room from the garage at the bow has been widened and heightened to help with access and ultimate boat removal. It will soon be drywalled and taped, and hopefully it will be the last bit of renovation needed for boat removal.


It still doesn't look like it will fit from this angle! But tapes don't lie, right?


After laying several rows, Richard waits for the epoxy to begin setting, then scrapes the gross excess to avoid a killer sanding job later.

A hand sized piece of laminate works great for this scraping.

Another fancy addition to the tools was the OMER nail gun that shoots plastic nails from Raptor. The beige plastic nails hold the strips in place while the epoxy dries. The use of any metal nails, other than bronze, would result in the nails rotting and weakening the hull, or needing to be removed. The price of a gun that only shoots plastic nails was cheaper than numerous boxes of expensive silicon bronze ring-shank nails and the shipping costs required to get them here. Not to mention the labor to sink all those nails.


The planking picked up speed as the learning curve was smoothed out.

The Learning Curve of Strip Planking

Of course there was a learning curve to planking..


The planking proceeded well for about a foot up from the sheer. There were varying opinions on where to start the strip planking. Theoretically, since the entire hull had been faired with a long batten in all directions it seemed easiest to start at the sheer and work "up". Richard decided that applying epoxy to an upward facing surface and pushing down to clamp seemed much easier than working overhead. Each layer was applied stem to stern. The plastic staples were effective in holding the strip to the strip below it.


As the planking progressed it became very difficult to secure the strips across the tight curve of the transom. The beautiful shape caused a lot of twisting in the long strips and generated concern about the stability of the application.


Would the twist cause too much stress and potential cracking?


Richard decided to change the direction and amount of curve in the full length strips by beveling the ends of shorter strips to fit under the easily positioned batten shown above.
Planks were evened up on each side.
Above, on close inspection, the penciled "cut line" of the shorter strips is visible. The batten will be used as a guide for the Skil Saw to cut the angle on the end of existing strips. Only a few ends need to be removed from already laid strips.
Shorter strips were applied to fill in the area up to where the cut is planned.

I have to throw in some sort of "artistic" photo on each section. Here is Richard through the chain locker access.
As the fill-in strips get higher, the strips get shorter.
These slip-on wooden clamps were effective when the strips were fairly straight in relation to each other.
The barely visible pencil line shows how much of the twist will be removed.
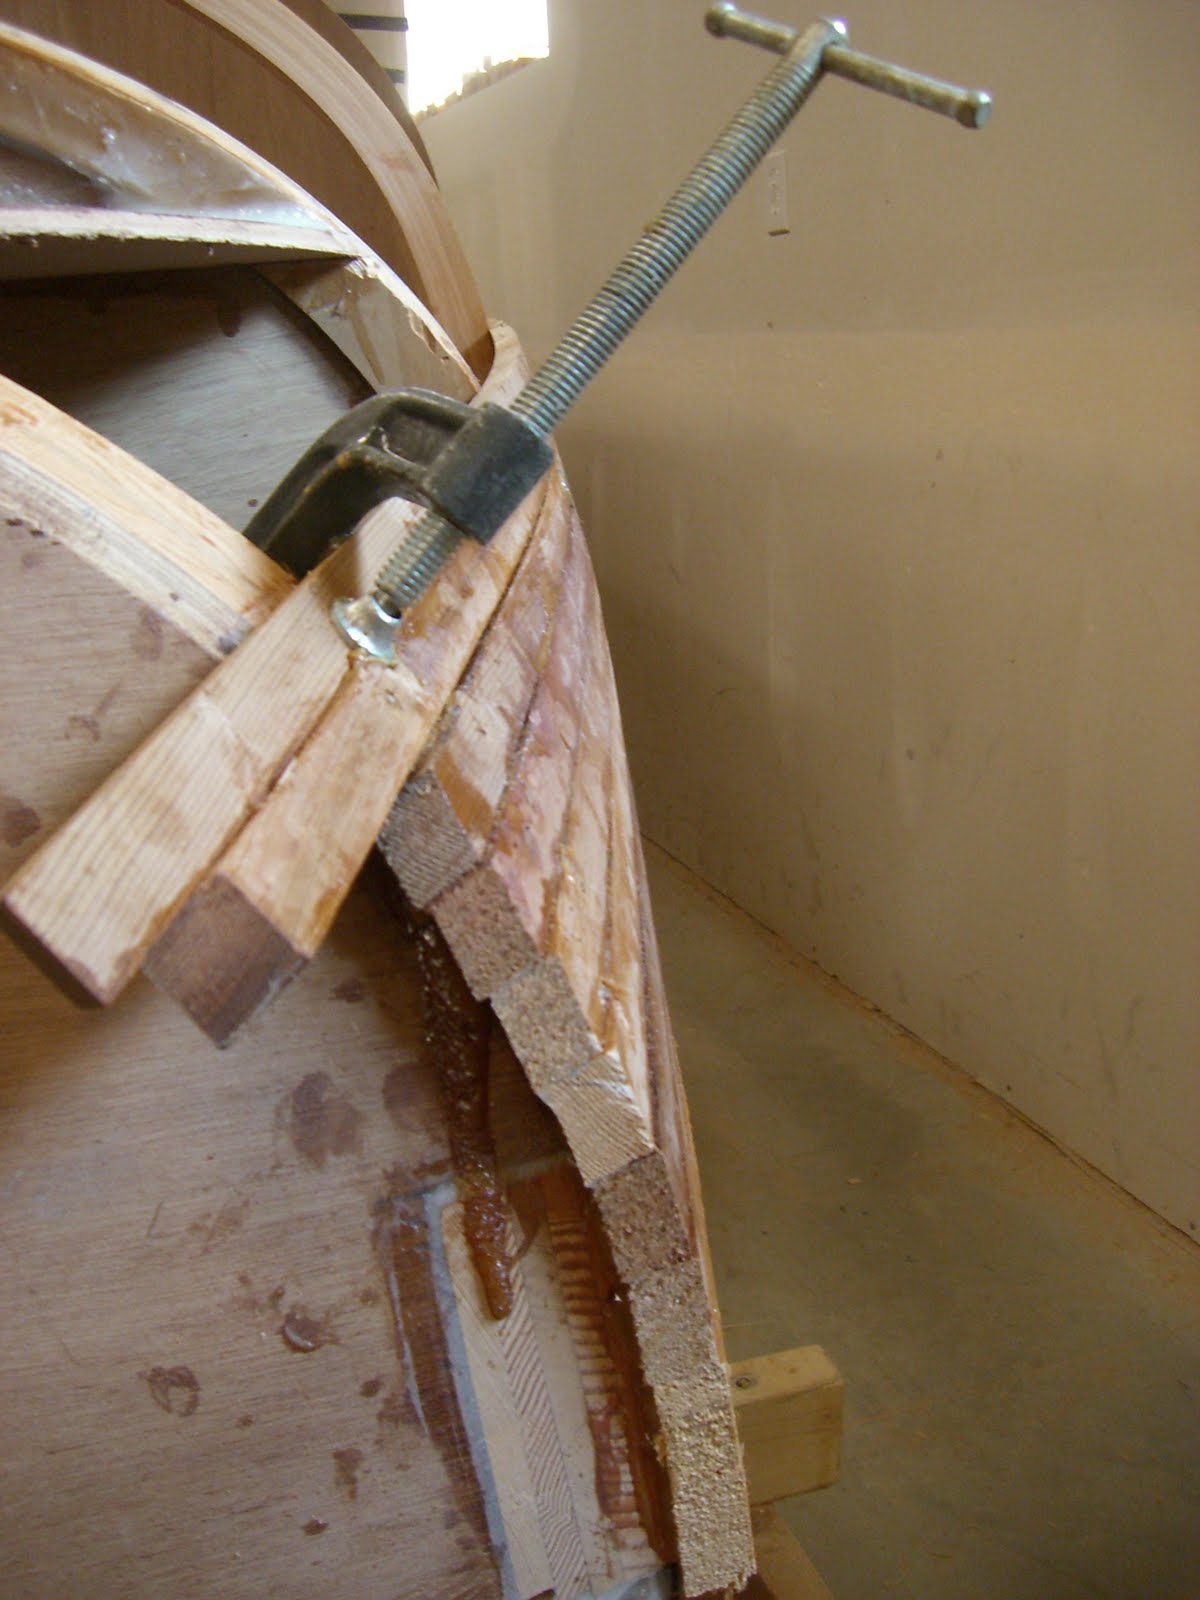
The batten is moved up the planks to provide a surface for clamping the new strip tightly down to the existing strip. The clamp goes on top of the new strip and under the batten. The batten is screwed on to the hull at each position.
The full length strips are starting to be applied after the ends of the shorter ones were cut to shape. The cutting with the Skil Saw went easier than expected, and was a great success.
Much easier application without the twist.

Even the dogs approve.

Once the learning curve was mastered, the daily grind of planking continued.
She is starting to take shape.

The 1000 Hour Mark

The end of November 2009 brought about the 1000 hour mark for actual time spent on the build.


She is really starting to show her shape.


Scaffolding was applied to each side as needed.


Screws with washers were used at the ends of planks to pull the shape in, and create the slight concave shape at the bow.


The strips of red cedar are very colorful and make us want to finish her "bright". She is very beautiful at this point.

Any excess epoxy will be removed during the fairing process.
Some strips were left long during the planking process.
The scaffolding creates a little more room on the port side.
It's still a tight fit.

The strips were reduced from 1 1/16" in height to 13/16" to help make the turn up toward the keel easier. The narrower the strip, the less sharp edges and flat surfaces will need to be shaped in the fairing process, but the slower the planking process.

Only about 5 rows could be applied each day, taking over 1 hour per strip. This included staggering any joints, slathering unthickened epoxy on all surfaces, reslathering thickened epoxy on the strip already on the boat, nailing the new strip to the existing strip with plastic nails and ring shank nails in any areas that did not want to cooperate. Then excess epoxy was scraped from the squeeze lines. The scaffolding also had to be adjusted intermittently.

The planking at the bow will need to be trimmed back to accept the outer stem.

The End of the "First Build Year"

The planking was completed in a total of 320 working hours.

December was mostly spent in fairing (smoothing and shaping) the hull, and cleaning the inside of excess epoxy.


Pencil marks were spread across the hull. As the fairing progressed, removing any high spots, the marks disappeared.
The Festool Rotex was the original tool used. It is an aggressive cutter. It has a 6" disc and is a combo rotary and random orbit sander. It worked best for cutting down the high areas of epoxy, and later for aggressively cleaning up the inside.
The Hutchins Eliminator with it's 8" disc, is a rotary sander that blends high and low areas the best.
An inline sander was applied to a "fairing board". It will be used in an attempt to create the "ultimate smooth" for the pre-glass finish.

After smoothing the high spots, any low spots were filled with a mixture of phenolic micro spheres, wood flour and epoxy. The wood flour is for non-sag structure, while the micro spheres make the sanding easier once it has dried.


Richard dons his Tyvek (AKA sperm suit) with his 3M Breathe Easy self contained positive pressure hood for the sanding jobs. Cedar and epoxy dust are a bad combo.

The process involved frequent sweat breaks.

A more tedious job than the planking....


After the highs and lows were smoothed, a mixture of epoxy and wood flour was used to fill all screw holes and other voids.
The inside was cleaned up with the aggressive Festool Rotex. I finally climbed inside to view the job. The pressurized hood was an absolute must for this job.
The laminated frames and bulkheads as structural supports are clear.
This is the view looking up toward the engine compartment and lazarettes.

The holes are baffles between the water storage compartments under the sole. All surfaces, hole interiors, etc will be meticulously glassed and epoxied. No water will be allowed to touch any wood. The center board configuration makes drainage of bilges and water compartments slightly more complicated, as there is no right to left connection or central bilge. Since numerous bilge and water pumps will be necessary, we will look at it as bilge and water pump redundancy...


The centerboard box meets up with the bulkhead to form the back of the galley sink cabinet.


The plan for the bulkheads is to cover them with white painted bead board and trim in mahogany, for a very traditional, light look. Most of the "walls" will be covered by cabinetry.


Between these two rounded bulkheads is the Navigation Table. Note the feet working on the outside of the hull...


This is looking forward from the saloon into the storage and head area.

Here is a good view of the laminated frames that create the open area in the main saloon.
The end of the month was when the boat was made mobile for the first time!

The strong back was detached from the floor, and a series of 8 casters were placed under custom boxes. She can be moved by using a little lever action.

Now that she has her own rigidity from the planking she will be able to be pushed from side to side in the small room she inhabits. This will allow her to be positioned better for the diagonal veneer application. Next step...order the veneer.

The grand total of working hours to date is 1150 hours. That is with 13 "no work" weeks.


Let's see what 2010 will bring! Peace and health to all!