Once the date was set, Richard needed to complete his plans for the logistics of this roll, as well as get all the remaining work done that needed to be completed prior to rolling. He looked everywhere for ideas on how to safely roll her 2000 lb body. He decided to use a crane to suspend her while ropes and pulleys pulled her around. The weight and shape were not equal front to back, and the thought of her slipping from straps was devastating.

Even before glassing the hull, Richard started building a custom frame. He decided that for best control, in the driveway area we had available, the roll needed to happen in stages. First she would be positioned on her side, then to a diagonal, then onto her keel. She would then be lifted and transferred to her new custom cradle for moving back into the shop and the remainder of the build.

Each side of the frame needed to be strong enough to hold her in the various positions, as well as work as attachment points for the crane straps. The frame went all the way to the ground so that the existing strongback could be removed and rolled out from underneath her prior to the roll.

She also needed to be tightly held from shifting in the frame or slipping front to back. The rear portion of the frame wedged tight against the rear deadwood.
The entire frame needed to be modular so that it could be removed to allow her to exit the tight doorway, and quickly and easily reassembled while the crane and party goers waited.

Carpet remnants protect the hull from the plywood forms scribed to the shape of the hull.

A cardboard form in the shape of the bow was made from the offsets at the station where the new cradle would fit.

This was used to create the plywood mold for holding her straight and level for the remainder of the build.

Of course there were last minute measurements and adjustments. The cradle had to lowered (rebuilt) and the stem trimmed so that she would clear the top of the door on her way back through the garage door. Theoretically at least.....one never knows how well this will work until the big day, and everyone is watching. There was a short episode of cold feet regarding having an audience for the whole episode. But a party was called for....and people were invited.
The last projects needing to be completed prior to the roll were done. The hull was glassed and primed as seen in the earlier postings. The shaping of the deadwood near the propeller aperture and directly in front of the rudder was left incomplete, not glassed or primed. It seemed that sitting on a stool to do the shaping while the hull was upright would be easier than hanging off scaffolding.
We were very honored to have Mark Smaalders, her designer and a great guy, that has subsequently become a friend, join us for the weekend of the roll. Dark hair, beard and red shirt.
Richard assembled a crew of friends with a variety of skills and expertise in everything from construction, timber framing, boat building, cruising, and just plain mucking about with boats.

The need for moral support and problem solving started early as her strongback high centered on the way out of the garage door.

Extra pallet jacks....

A few levers....

Lots of grunting....

And conversing over the logistics.....

And it looks like she is going to make it......

With a little rope work, that is.

Boaties never travel without block and tackle.

Her lines look even sweeter when she has a little room to breathe.

Now the rolling frame must be reassembled while awaiting the crane.

The frame assembly being in modular sections seems to be working well.

Up they go....


And luckily there is always a billy goat in the crew that excels at the high work.

Slight readjustments and the frame is complete and she is snug.


Slight readjustments and the frame is complete and she is snug.

The strongback is then cut away from the hull.


And all the extra lumber is removed.

The frames and bulkheads were attached to the strongback for stability during the strip planking, but now she is rigid enough to stand on her own.

The frames and bulkheads were attached to the strongback for stability during the strip planking, but now she is rigid enough to stand on her own.

More dismantling...

More adjusting....

And it looks like the strongback is ready to be removed....

The sides of the rolling frame hold her up with a cross beam, as the strongback is roll out.

More people arrive for the event.

And as the strongback finishes being removed, the crane arrives.

The remainder of the crew then assembles the cradle for post roll placement in the vacated garage.

Some of the wheels from the old strongback were needed to support the future weight of the boat during the remainder of the build.

The new cradle was then maneuvered around the hull, to the top of the driveway.

It is easy to see the bow holder and the notch in the rear that will securely hold the deadwood.


The crane maneuvers into place.

Richard confers with the crane operator. Neither of them has done a roll before. The crane operator was impressed out how well thought out the plan was....Mastodon Crane can now add boat rolling to the resume.

Side supports are good.

Side supports are good.

And the decision is made to move the cradle back into the garage so that it will be in position to easily move under the righted hull when the time comes...

Best to sneak it past the crane now, rather than when the hull is in the air...

She appears ready....

The boom is brought over her.

Straps and spreader bar in place.

The straps are attached to the frame for the initial lift.

And the roll is getting closer....
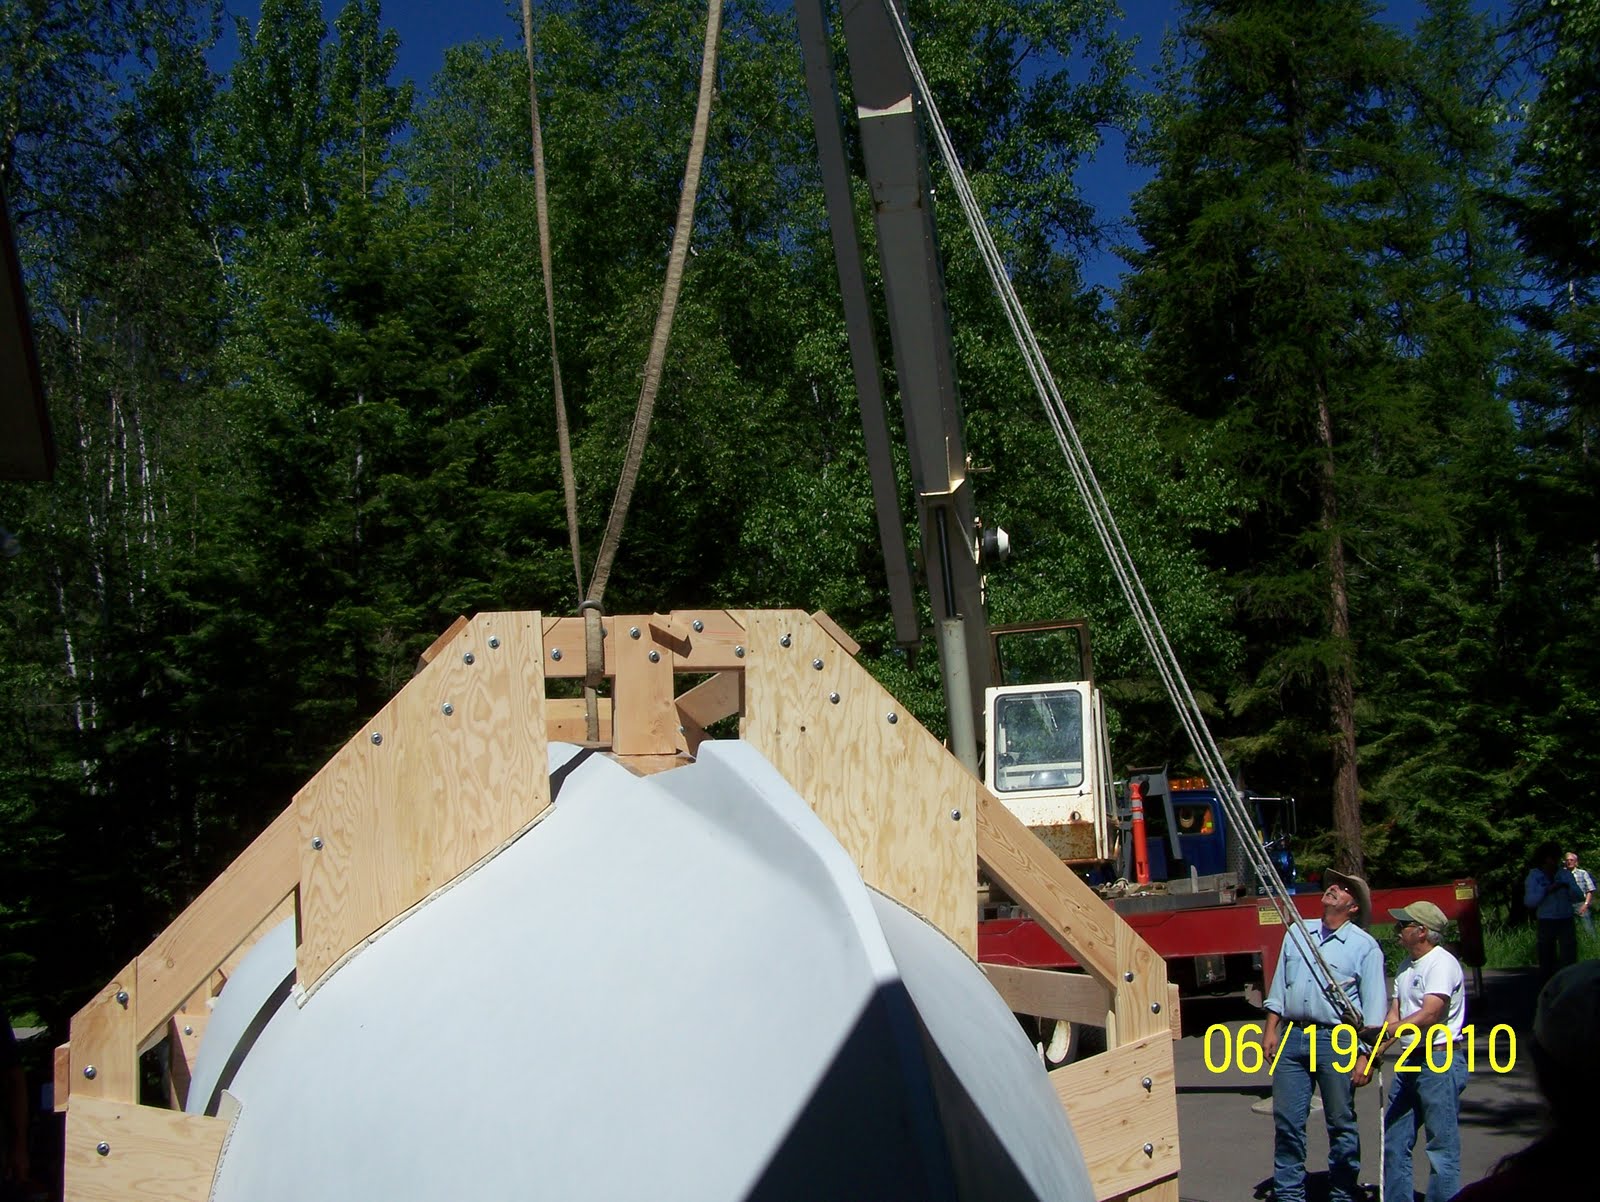
First she will be lifted straight up and moved closer to the building. This will give room for a controlled sequential roll across the driveway, away from the building.

And up she tentatively goes.....guide ropes in place.

Oops....a little tip towards the back, but she is secure in the frame.

Now that she is closer to the buiding, the weight is held by the crane with the edge of the frame remaining on the ground, the guide rope/block and tackle can bring the far side over to position her on her starboard side.

Slowly....controlled.

The bow tried to slide around.

Nothing a little man-handling won't fix.

Keep going.....

Almost....
The frame is working well for strap and guide rope attachment.

And suddenly she is resting securely on her side.....

It's the first time we can see her insides without climbing underneath...

She looks much larger and everyone seems impressed...
The ropes are rearranged to contiue to the next section of frame.

Weight on the crane and heave ho....

Steady that bow...

Steady that bow...

Almost....


And she hits the diagonal....

Regroup for the last part....

Almost ready to start breathing again.

Ladders needed to adjust rope placement.

The preventer rope coming from the building is there to keep it from a hard flop....

All ropes are working well. Lots of patience and thoughtfulness about physics and a 2000lb hull in motion.

Almost....

All looking good.
No disasters yet.

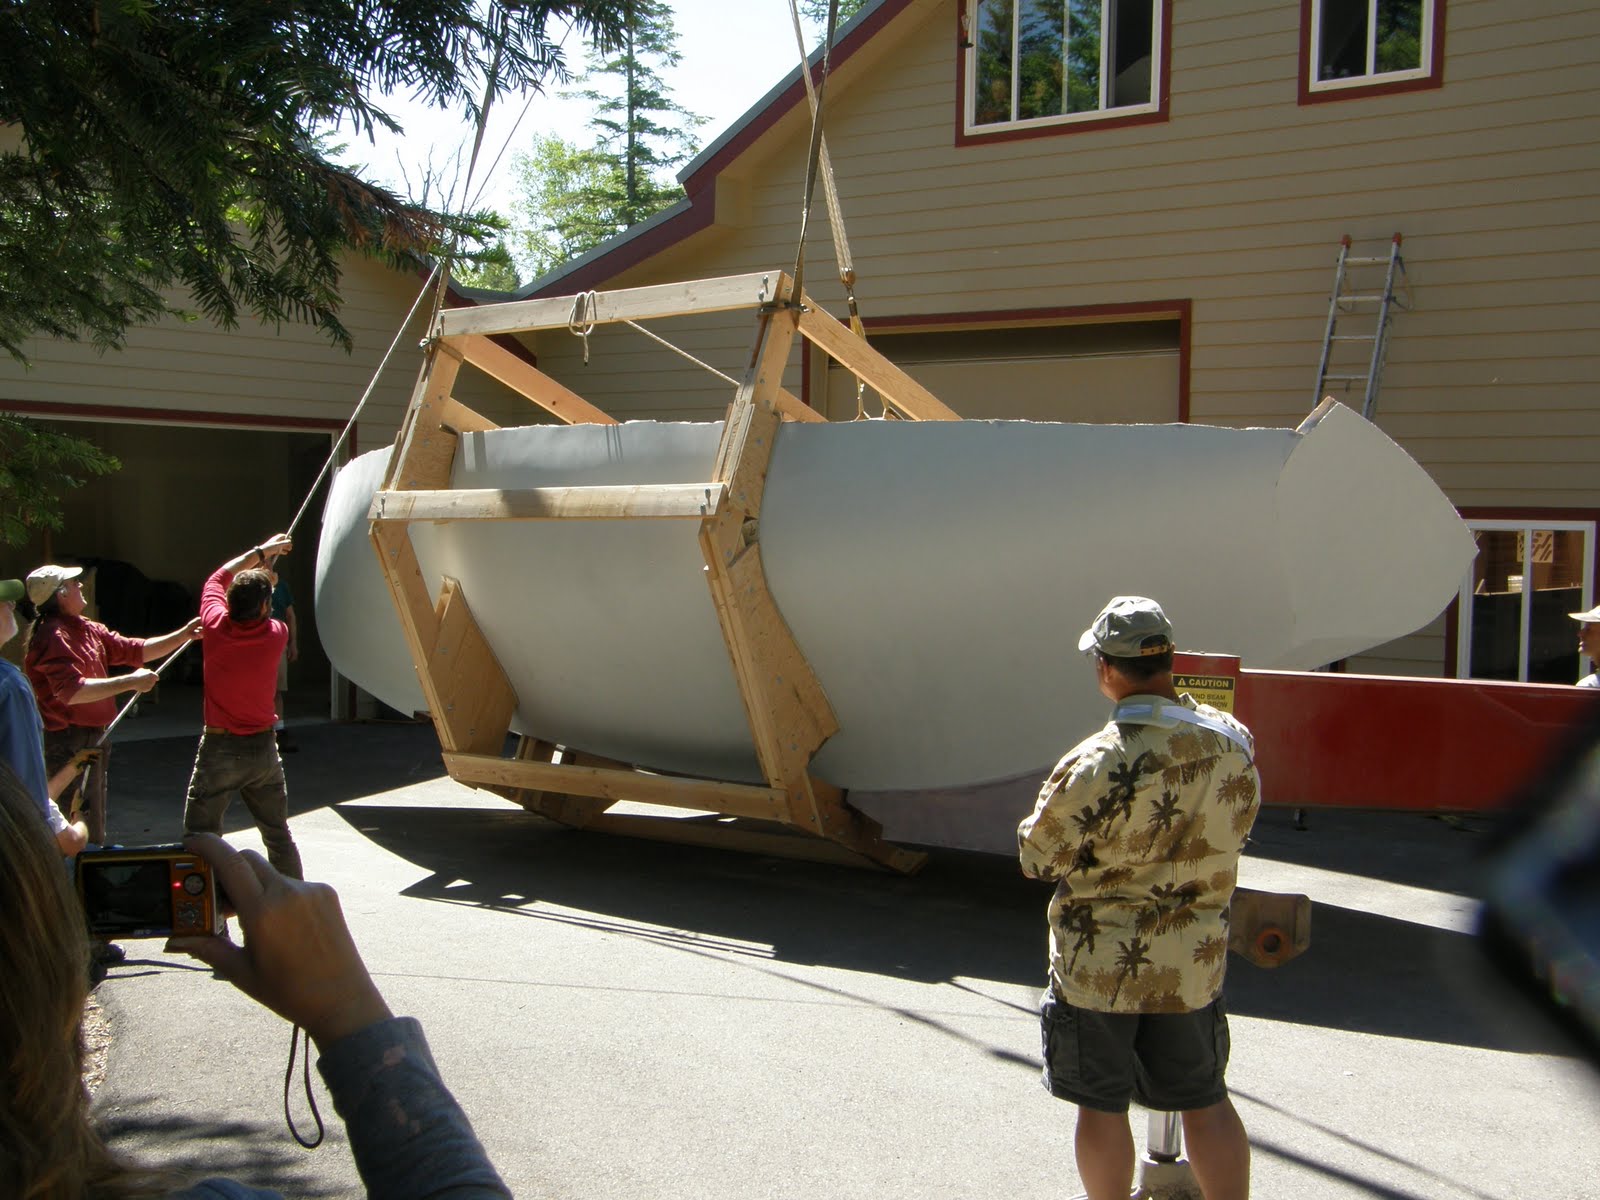
And she settles in.....

A big sigh!

Now the custom frame needs removing.....

She will be lifted one more time and the new cradle slid under her.

She will be lifted one more time and the new cradle slid under her.

Wow....


Richard is relieved but the work isn't done yet....

Straps with carpet remnants will hold her while the frame is removed.

Keep up the pace....

Take apart the frame....

The wood from the frame will be used to build a staircase for access to the inside of the boat.

Comes off easier than going on....

The new cradle slides easily into position.

She looks secure and mobile.

Front to back adjustment of the hull makes the fit perfect.

A quick rope thrown over the cross beam is added protection for the move back into the garage.

Everyone gets a peek at the strip planking....
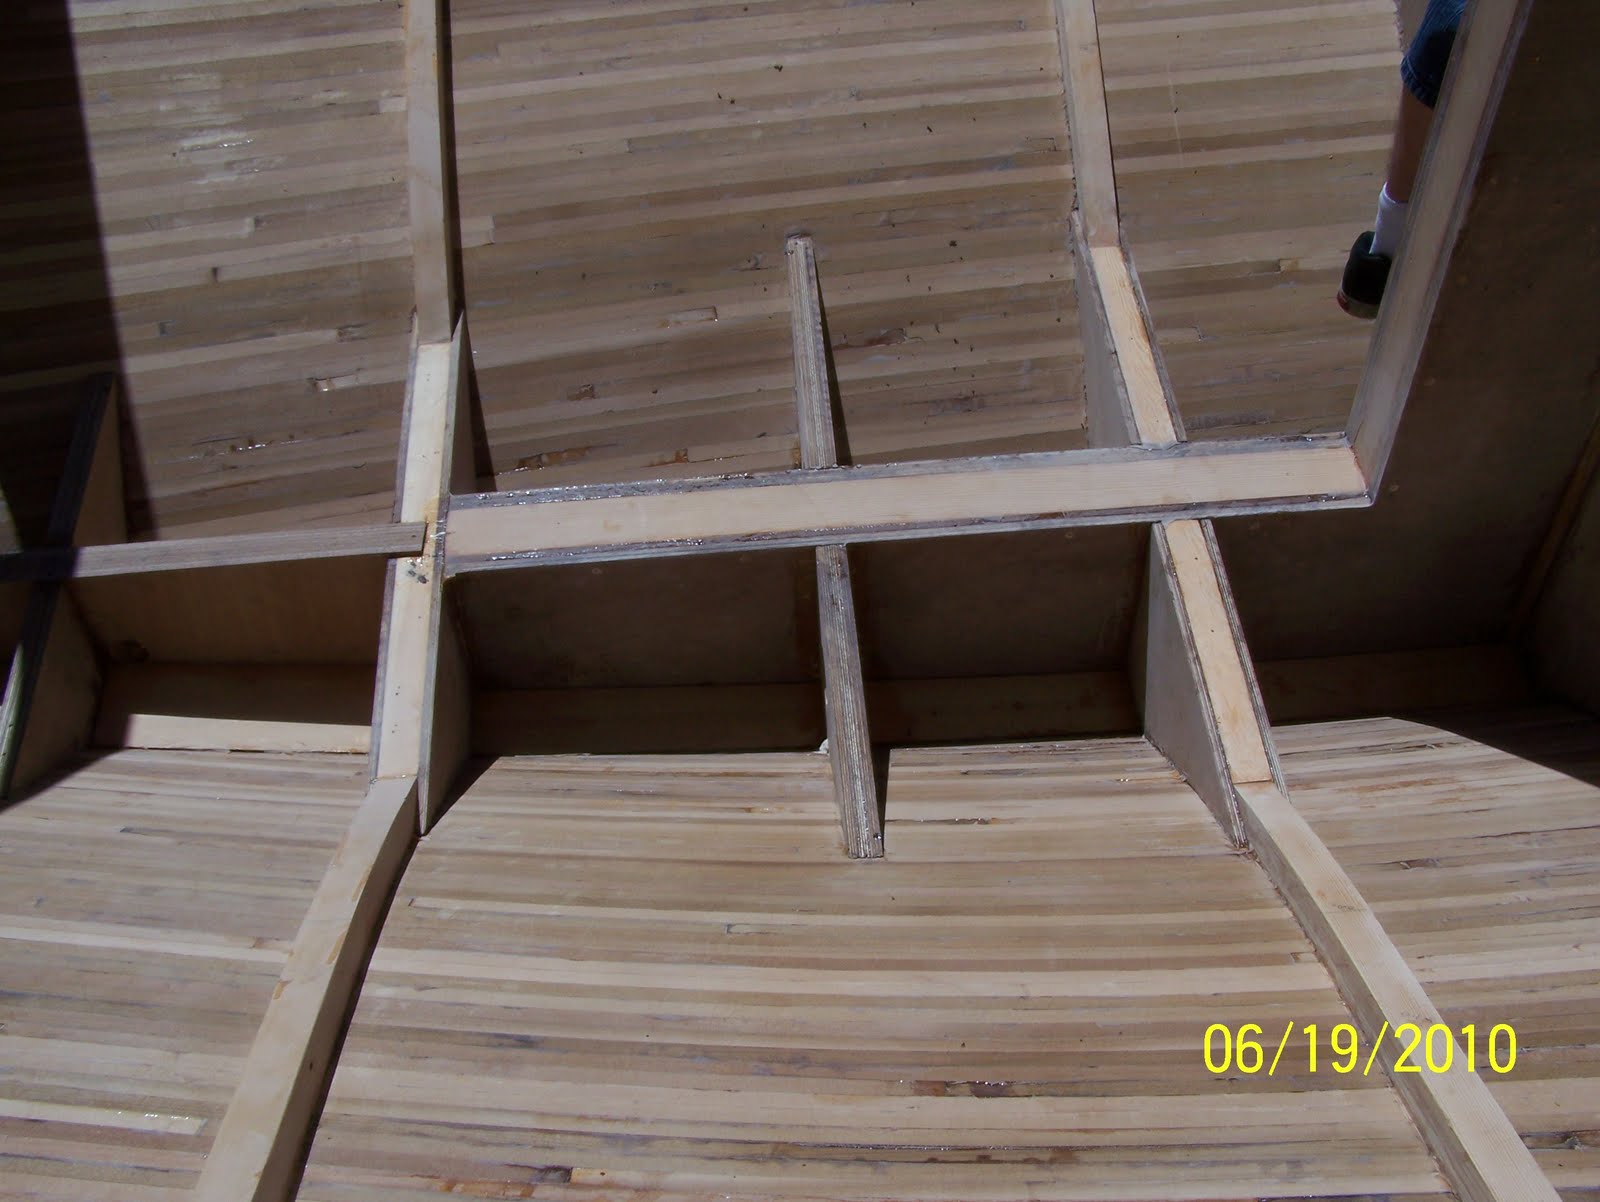
This will be bilge and integral water tanks.

There is my galley!.....the slot in the center is for the centerboard.
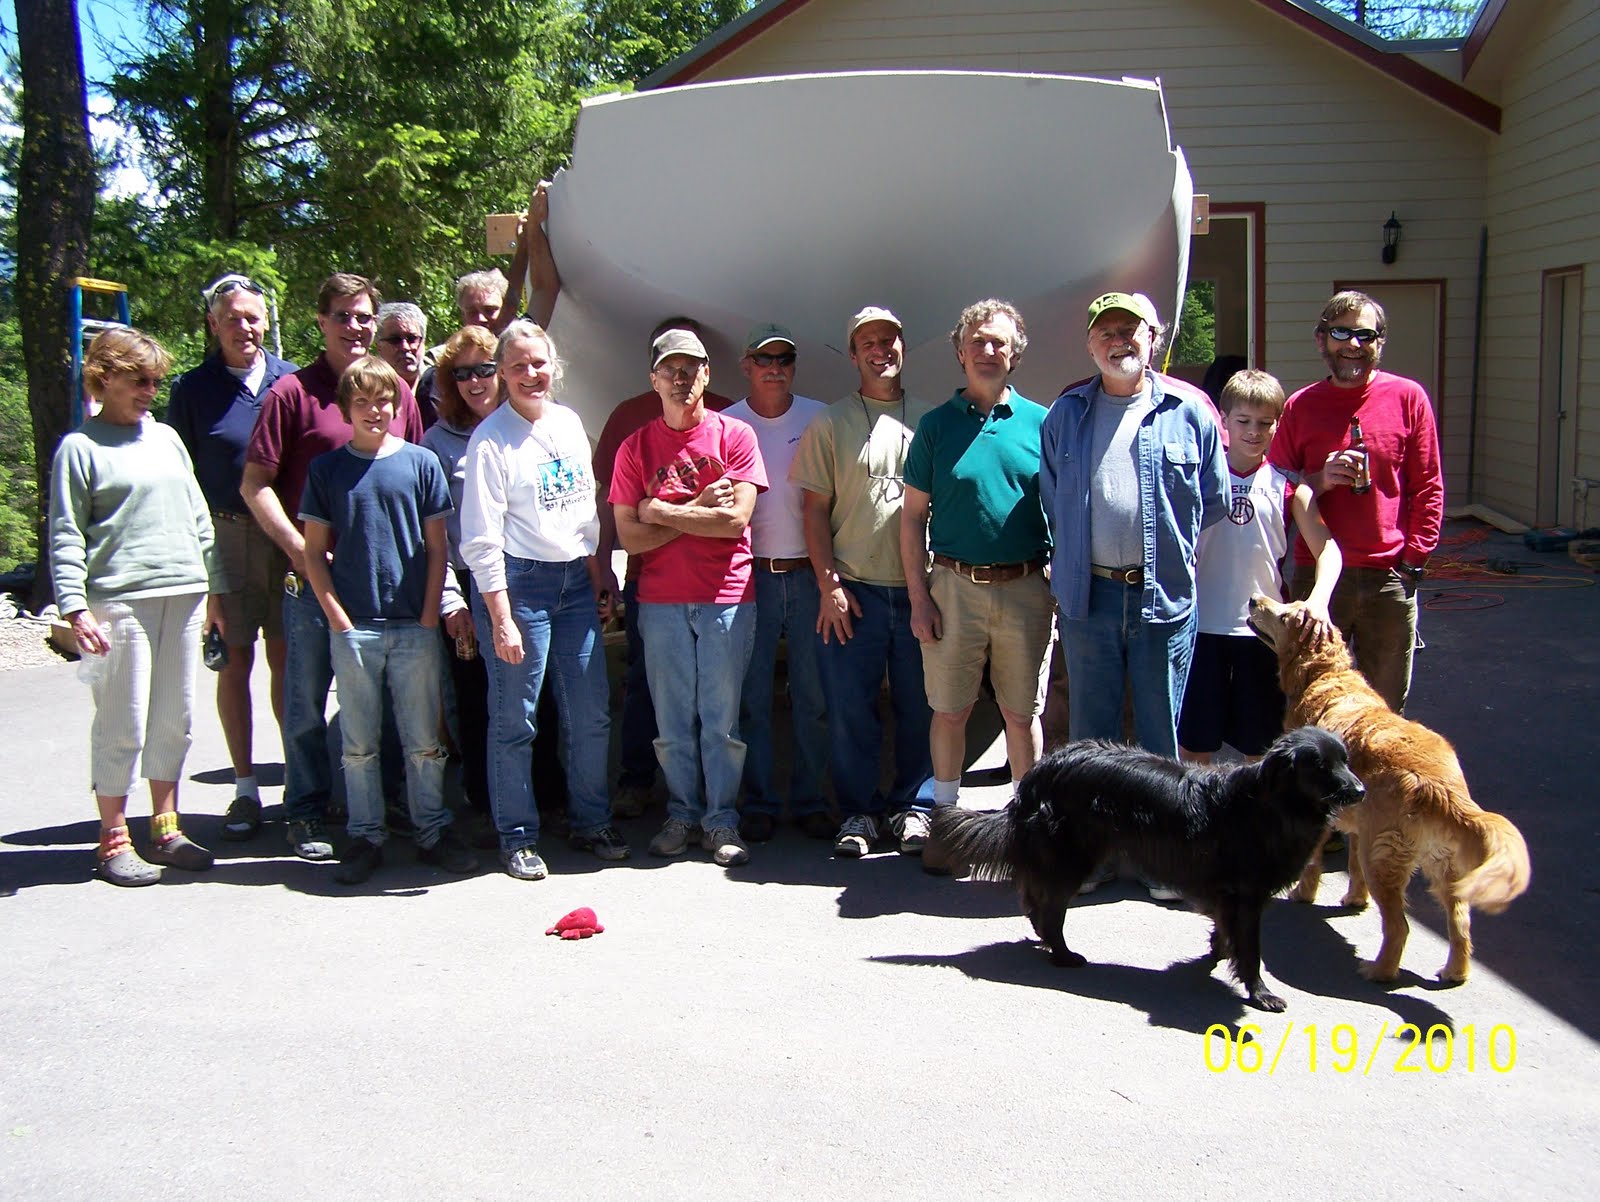
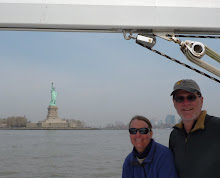
And of course, some of the crew was brave enough to pose for "the roll" shot....thanks everyone!

Prior to too much celebrating, the last great hurdle needed to be cleared......and it barely fit!

And the reverse of the "out" process was performed. Her bow had to tuck into the far corner of the garage.

And the reverse of the "out" process was performed. Her bow had to tuck into the far corner of the garage.

And her stern could barely clear the edge of the extra wide door.

Her stern was then swung around into her building cubby off the main garage.

It is a tight fit.....repeated.

But she feels at home.....

The end of a long, glorious day....
Time in build............1800 hours.
Weight of the hull...........1900 lbs
Weight of custom rolling frame.......500 lbs
Labor and assistance of great friends.............the price of beer
Enjoyment and relief at this milestone in the build......priceless
Thanks everyone!
No comments:
Post a Comment