
The planking proceeded well for about a foot up from the sheer. There were varying opinions on where to start the strip planking. Theoretically, since the entire hull had been faired with a long batten in all directions it seemed easiest to start at the sheer and work "up". Richard decided that applying epoxy to an upward facing surface and pushing down to clamp seemed much easier than working overhead. Each layer was applied stem to stern. The plastic staples were effective in holding the strip to the strip below it.
As the planking progressed it became very difficult to secure the strips across the tight curve of the transom. The beautiful shape caused a lot of twisting in the long strips and generated concern about the stability of the application.

Would the twist cause too much stress and potential cracking?

Richard decided to change the direction and amount of curve in the full length strips by beveling the ends of shorter strips to fit under the easily positioned batten shown above.

Planks were evened up on each side.

Above, on close inspection, the penciled "cut line" of the shorter strips is visible. The batten will be used as a guide for the Skil Saw to cut the angle on the end of existing strips. Only a few ends need to be removed from already laid strips.

Shorter strips were applied to fill in the area up to where the cut is planned.

I have to throw in some sort of "artistic" photo on each section. Here is Richard through the chain locker access.

As the fill-in strips get higher, the strips get shorter.

These slip-on wooden clamps were effective when the strips were fairly straight in relation to each other.

The barely visible pencil line shows how much of the twist will be removed.

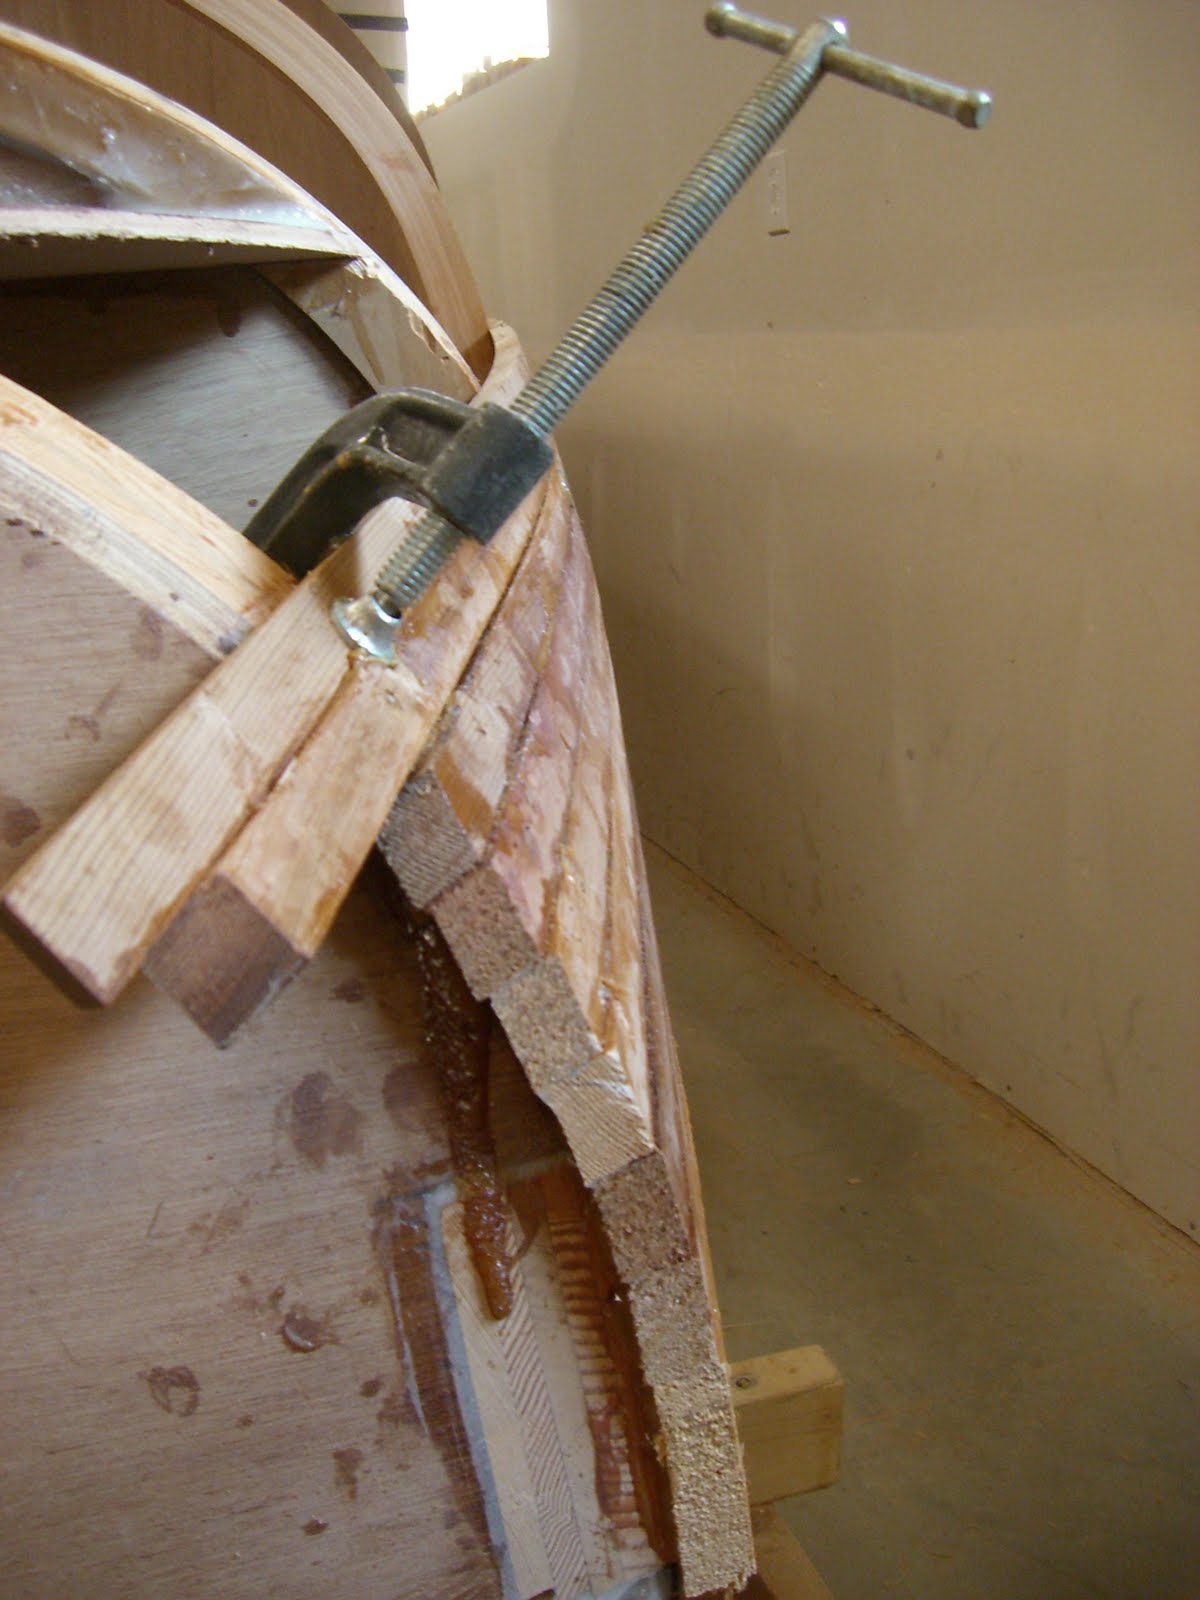
The batten is moved up the planks to provide a surface for clamping the new strip tightly down to the existing strip. The clamp goes on top of the new strip and under the batten. The batten is screwed on to the hull at each position.

The full length strips are starting to be applied after the ends of the shorter ones were cut to shape. The cutting with the Skil Saw went easier than expected, and was a great success.

Much easier application without the twist.

Even the dogs approve.

Once the learning curve was mastered, the daily grind of planking continued.

She is starting to take shape.

No comments:
Post a Comment